
Eric makes and sells quite a few of my designs, and when I can I will link to the actual cutter on his site.
Gorgeous doesn't even begin to describe the heirloom quality of these cookie cutters, and over time I will be featuring step by step tutorials of my designs that Ecrandal offers in cookie cutter form.
Thank you Jamie and Eric!!!

What starts out as a simple line drawing on my end Eric meticulously transforms into a beautiful yet sturdy cookie cutter.
Because of the depth of the cookie cutter, and the angle of the camera, the cutter might give the illusion of being larger than the drawing, but Eric has always been very precise when making my cookie cutters, and it actually matches my drawing perfectly. And the best part.....no more hand cutting these. Yeah!!!

After rolling and cutting out my cookie dough I use a soda straw to to punch a hole for the ribbon I plan to add later.

Once the cookies are baked and cooled I flood the cookie in sections (left photo) allowing them to dry about 15 or 20 minutes before adding the the next sections. (right photo)
This isn't necessary, but it gives me a pattern to follow later, and adds more dimension.
I leave the neck section untouched for now, and let the whole thing dry completely before moving on to the next step.

With outline consistency icing, I begin to add the strings of the tassel using the neck section as my starting point letting the lines flow to the bottom. I also add lines to the top. I leave enough space between the strings so they aren't touching as I don't want them to run together. After letting the first set of strings dry for about 10 minutes, I place additional strings until I'm happy with the overall look.

I cut away the jagged icing edges near the neck, and flood this section with icing and let it set for a few minutes before adding the year numbers. I want them to lay on top of the icing without sinking into it too far.

This cookie shows the numbers I've added to the wet icing.
The numbers were made ahead as icing transfers and gilded while they were still attached to the acetate. It was easier for me to do them this way as the numbers are small and I wanted them as uniform as possible. I'll let this dry overnight before packaging them up.
Note: The numbers can be piped directly onto the cookie for all of you with mad piping skills and steadier hands.
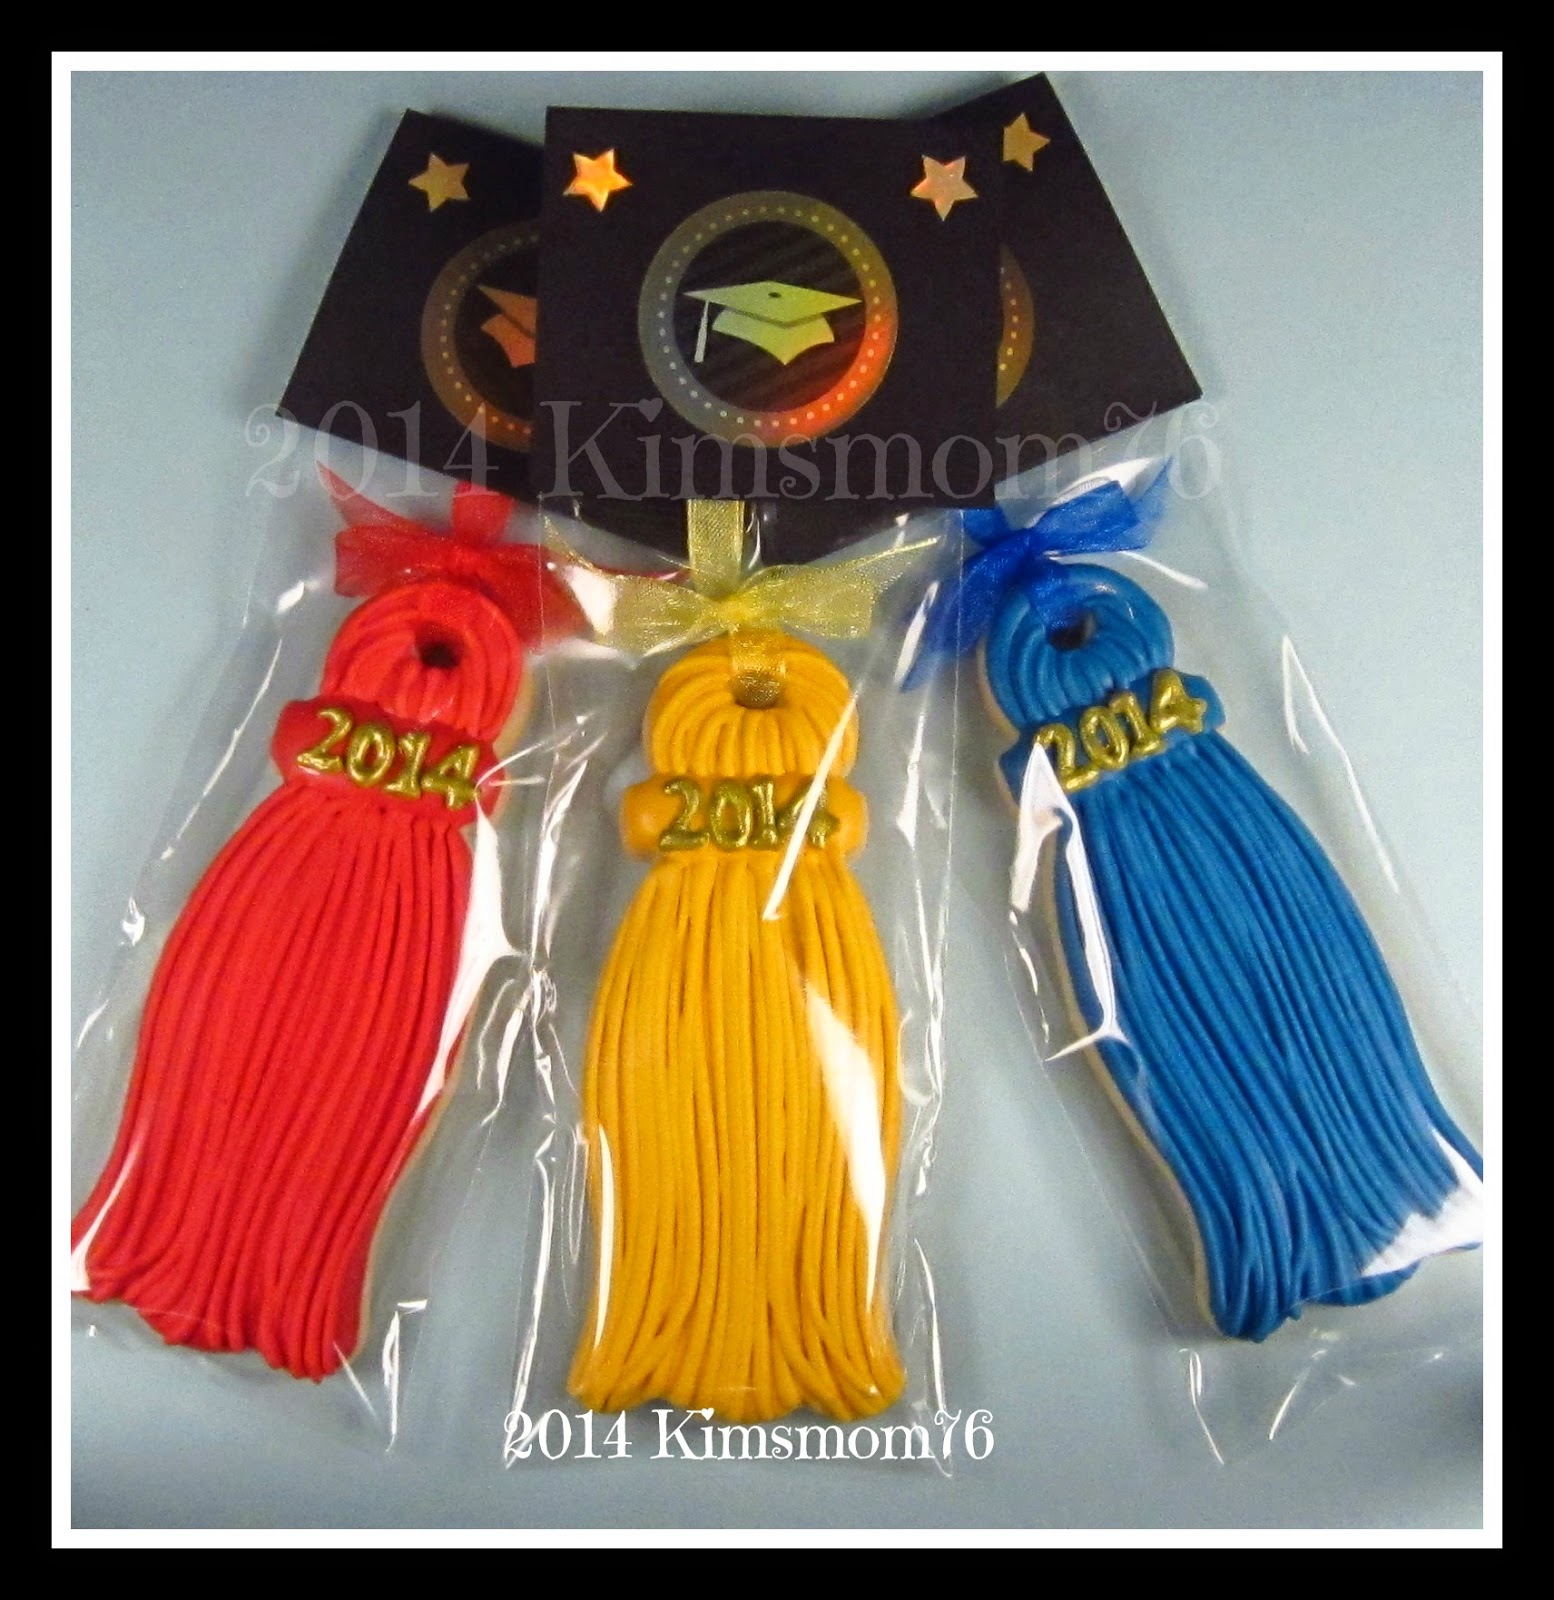 All tied up, bagged and tagged.
I made the simple hang tag using black card stock and stickers.
♥ Happy Decorating ♥
Note: The numbers can be piped directly onto the cookie for all of you with mad piping skills and steadier hands.
I made the simple hang tag using black card stock and stickers.
♥ Happy Decorating ♥
beautiful!
ReplyDeleteImpressive!!! 3D icing with YOUR mad piping skills!!!
ReplyDelete